This festive vase will mark the end of my Christmas Crafting. I know it is last minute but this festive arrangement takes only minutes to construct. You can pull it together today and have it on your Christmas dinner table tomorrow or take it to your event as a hostess gift. Choose materials based on your decor and away you go.
You Need:
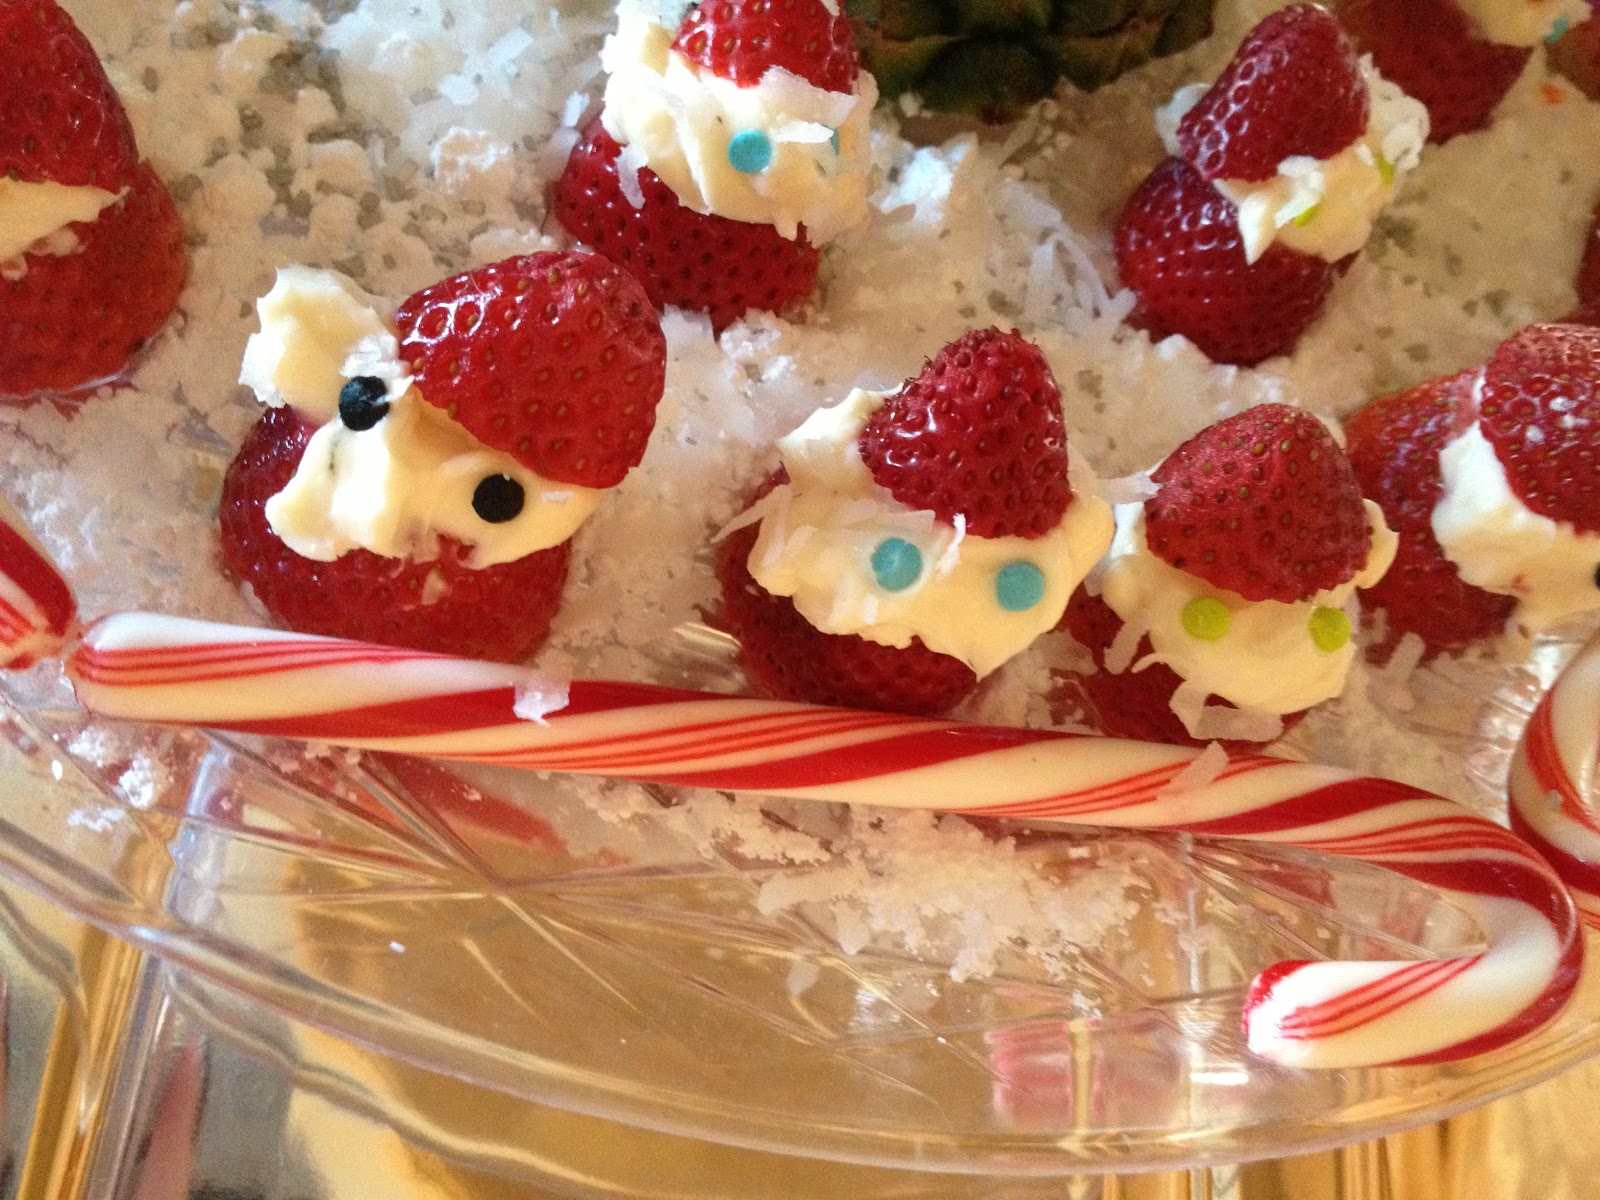
*Candy Canes
*Can, Jar, or Vase
*Rubber bands
*Glue Gun
*Ribbon
*Any other adornments
*Plant/Flower
**Tray (If you are making for a centerpiece)
I used a tin can from a Christmas hot chocolate.
Line up the candy canes and secure using the rubber bands (They are slippery and tricky so don't get frustrated)

Use the hot glue to glue the ribbon over top of the rubber bands. I used Vintage rhinestones to adorn the front of this piece. Use a Christmas tree ornament, piece of jewelry or anything else you have on hand to make this uniquely YOURS.

I used a silver tone service tray lined it with metallic tissue paper and the left over ribbon from the vase.

Add your plant/flower to the vase. I used a tropical plant and purchased a rose and twigs separately. I created a unique arrangement of my own using these 3 elements.
Place on the table or take as a hostess gift to enjoy. remove the tropical plant and enjoy all year round. Store your creation and use again next year!

MERRY CHRISTMAS!
Shower those you LOVE with LOVE
XO