Showing posts with label DIY Glinda Costume. Show all posts

Saturday, December 14, 2019

Oz: Glinda The Good Witch - Accessories


Yesterday I shared our process for Glinda's gown and today I wanted to discuss how I created her custom accessories. Glinda The Good Witch is known for her iconic crown and wand.


There is nothing that I could find out there to purchase that would even come close to completing my vision for her character so I had to DIY them.


Crown:

As the base of my creation I purchased a really cheap  "Good Fairy Costume Crown" for $12. To save the time of drawing a stencil and using the clear plastic cutting mat's I've seen in other DYI's.

When It arrived it had frosted fabric with silver stars glued inside which I had to remove along with the faux-pearl bursts, trim and pink plastic stones. They all peeled off easily.

I lined the crown with the same pale pink organza we used in the sleeves of the gown. I traced the outline, cut it out and used it to create the frosted effect without the stars. I did leave the star fabric at the top sections of the crown.

I added my own silver star bursts I cut off of a balloon weight from the dollar tree to mimic Glinda's

I chose a brooch I had on hand for the focal point of the hat, painted the metal a lighter, brighter silver and used glitter glue and loose glitter for the lines on the front as well as the trim.


I built the iridescent stones around the brooch in the front. Because my base crown didn't have the rectangle piece in the front that rests on her forehead I had to use the plastic from the box the stones came in to hot glue under the brooch and then I covered it in jewels.

Before I list the costume for sale I am going to add faux pearls to the front as well.

 Because it was a holiday shoot I designed Christmas Trees on both dies of the crown and used an iridescent glitter over the glue.

The trim around the bottom of the crown was a rhinestone band that I added with hot glue. 


Wand: 

The wand has a really incredible story. First test wands were created for Glinda for screen tests.
It just sold at auction at Bonham's December 10, 2019 for $400, 075.
Gilbert Adrian-designed wand of clear rhinestones was created but ultimately appeared bland on film. It was replaced with a wand which contained scattered colorful stones which sparkled on screen and was more in keeping with the vibrant Land of Oz (at least two of these wands were known to exist).
The two known colorful screen-used wands were sold at the famous 1970 MGM auction and transported to a museum called "The Land of Oz" in North Carolina, where both wands were destroyed in a 1970's fire, making this silver version the only known wand in existence.

I recreated the technicolor wand used in the film using a long wooden dowel that I painted silver, Silver glitter foam as a bade for the star, hot glued together and hand covered with stones.


Friday, December 13, 2019

Oz: Glinda The Good Witch - The Gown


Glinda the Good Witch character was such a joy to create. She, along with the Tin Man were the two mist complex costumes for the shoot.

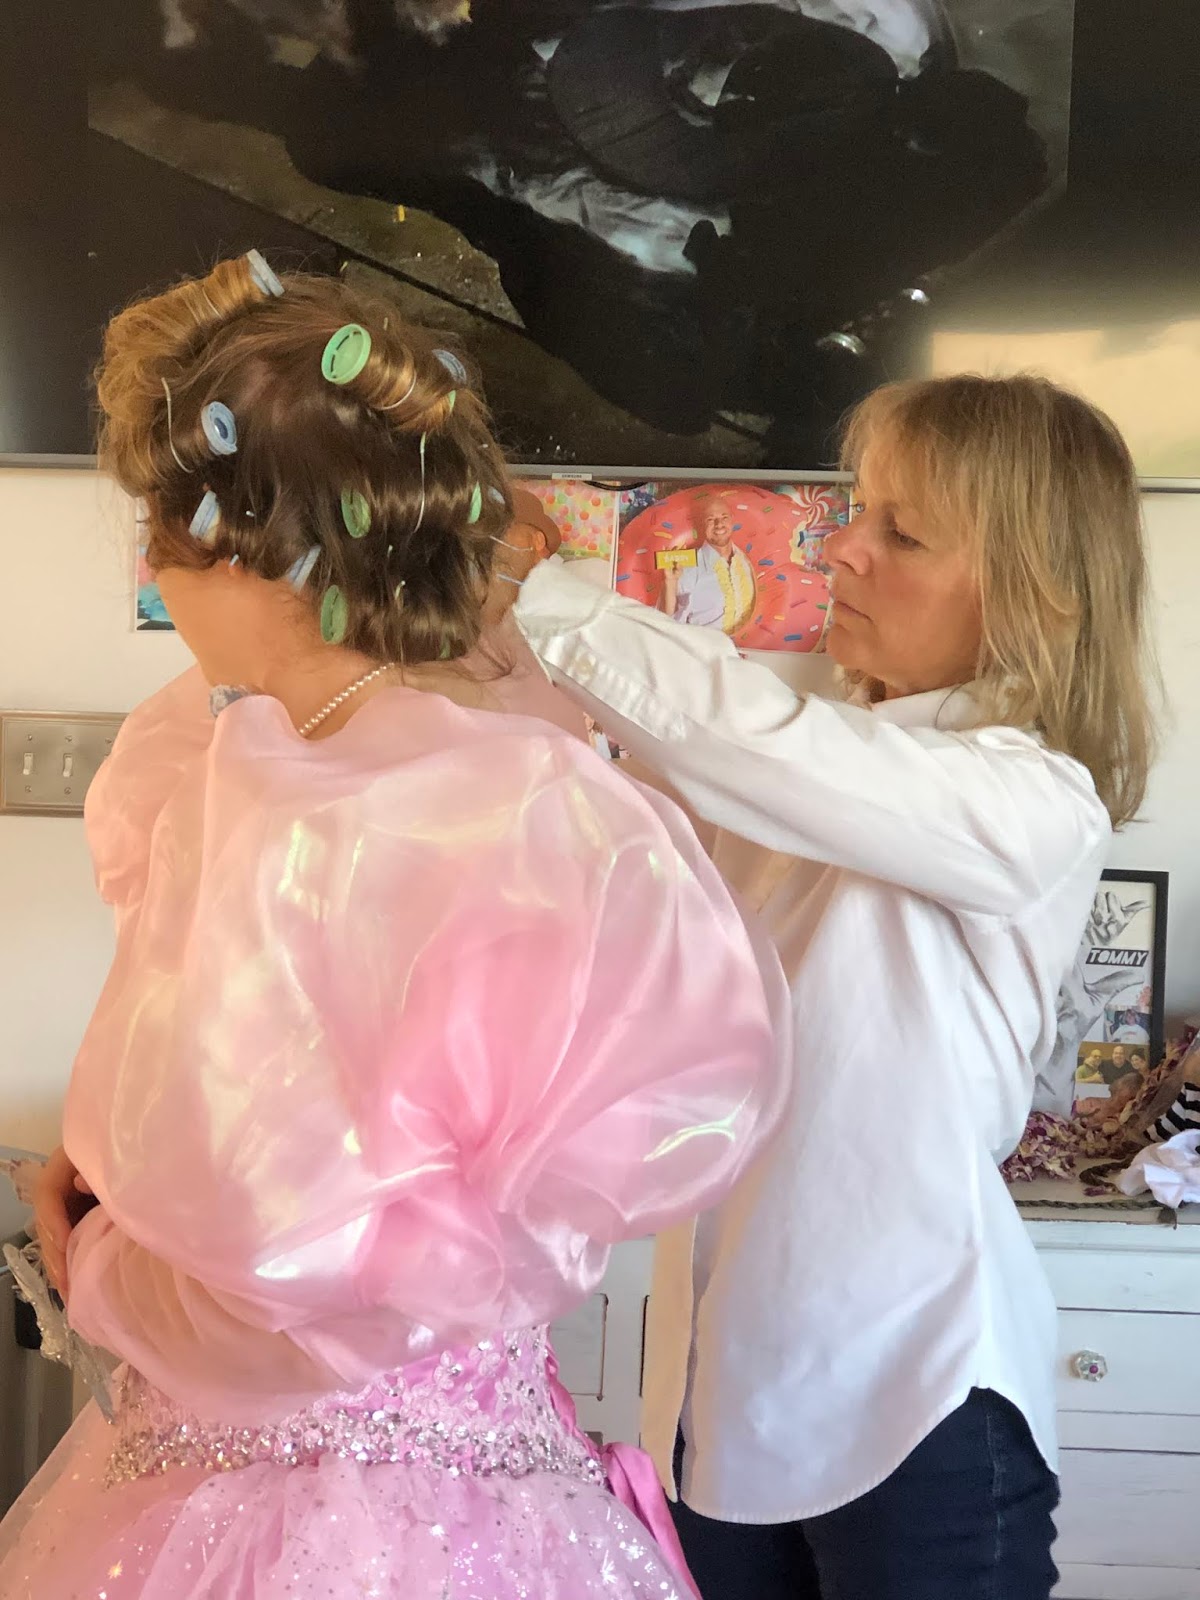
My step-daughter Danica has a similar hair color to the original Glinda, played by actress Billie Burke so no wig was necessary. A few hot rollers, a quick brush out and voila, Glinda 2019.


The makeup was natural and simple as well. 
The perfect Glinda Gloss: Haus Labs gloss in "Le Riot"


So many beautiful details went into producing her look.

The Gown:

Glinda's original gown was designed by famous Hollywood costumer, Adrian. It has been said that he actually re-used/ recycled a gown from a precious production which is not at all uncommon for costumers of large houses to do. Read more about it HERE.

I decided to purchase a base gown in the "Glinda Pink" and use it as the foundation for the creation of her character. It was hard to choose the color as the film stills and actual technicolor film varies so widely. I went with the shade that I felt best represented the character. 


I enlisted the help of my good friend and creative partner in crime, Kate to help construct the sleeves, remove items/embellishments that didn't work, re-configure the neckline and build the undergarment that gave the skirt The Glinda Shape. Her dress has wide hips with a flat appearance in front and back, similar to the 18th century look of a pannier undergarment (Think Marie Antoinette). We didn't have the budget or the time to construct one or purchase one so Kate in her genius improvised with fabric.


We used scrap fabric we had on hand to create the tie on "Pannier" with an exterior of iridescent organza. She chose a tie up method so it could be easily adjusted for my step-daughter on shoot day.


The modifications to the base dress was the neckline, the embellishments/appliques were removed from the top layer of tulle.

The sleeves needed to be constructed from scratch by Kate who referenced Glinda's iconic look and shape for the shoulders.


My daughter as Dorothy and Step-Daughter as Glinda.


 Kate, working her magic. I love designing with her!

Kate used the same method of stuffing the shoulders with fabric. She removed the stiff tulle underskirt in portions under the front of the skirt so it would lay flat and re-used it to create the shoulder volume with a gorgeous shell of pink organza.


The sleeves were constructed from a stretch tulle to ensure they would fit her. We didn't have fittings so Kate decided it was the best way to ensure fit for Danica and whoever else may use/wear this costume.


Glinda's gown is covered with silver stars so instead of doing them by hand we chose a pale pink organza fabric printed with silver stars.


We chose not to continue it all the way around and left the back open and pink tulle exposed so the back bow ribbons could cascade down. 


The butterfly details seen on Glinda's dress were created by hand by me. I used feathered small butterfly clips in white and hand painted them silver. I used them for each wrist and for the vintage pearl necklace.

 The stones needed to be hand removed from the pink butterfly before I could paint it silver. the glitter lines gave great texture to it. Each butterfly can be removed so the dress can be cleaned and to ensure proper placement regardless of what body shape/type wears the gown in its next life.


 vintage faux-pearl choker and butterfly clip combo.

Last but not least, I used a brooch from the 1950's to replicate the feeling of her large bust embellishment. A mix of faux-pearls and rhinestones were the perfect edition.


Tomorrow I will outline the details that went into her iconic accessories; The hat and wand.